








There is a unique kind of dread that sets in when you turn your car key and hear nothing but a weak click. Your stomach drops because you instantly realize you are going to be late. Whether you are stranded in a dark parking lot or stuck in your own driveway, a dead battery can completely derail your day.
Fortunately, knowing exactly how to jump a car is a fundamental roadside survival skill that every driver should master.
However, modern vehicles are essentially computers on wheels, which means a single misplaced cable can fry thousands of dollars of delicate electronics. Consequently, you cannot afford to guess the steps. This comprehensive, step-by-step SEO guide will walk you safely through the process, protect your vehicle from damage, and get you back on the road in minutes.
1. Safety First: The Essential Pre-Check Checklist
Before you ever unpack your jumper cables, you must verify that it is actually safe to proceed. Skipping this initial assessment can result in permanent damage to your vehicle or, worse, personal injury. Therefore, always take sixty seconds to inspect your environment and equipment.
First, check the physical condition of the dead battery. If you notice that the plastic casing is swollen, bloated, or visibly cracked, do not attempt to jump-start the car. A misshapen battery indicates a severe internal short or a buildup of explosive hydrogen gas, which means it could rupture under a sudden influx of electrical current. Instead, your only safe option is to buy a replacement.
Second, clear away any noticeable corrosion. If the metal terminals are caked in a white, green, or blue powdery crust, the jumper clamps will not be able to establish a solid connection. Therefore, carefully scrub the debris away using a wire brush or a stiff cloth.
Finally, ensure that both vehicles are completely turned off, parked securely with their emergency brakes tightly engaged, and positioned closely together without their metal bumpers actually touching.
2. Deciphering Your Battery Terminals
Connecting cables randomly is a recipe for disaster. Therefore, you must absolute confidently identify your positive and negative terminals before proceeding any further.
[Positive Terminal] ─── (+) ─── Color: RED   ─── Connect First
[Negative Terminal] ─── (-) ─── Color: BLACK ─── Connect Last (or Ground)
Every standard automotive battery features two distinct metal posts. The positive terminal is almost universally larger and is clearly marked with a plus sign (+). Additionally, it usually features a bright red plastic cover that protects the live connection.
Conversely, the negative terminal is smaller, marked with a minus sign (-), and typically left bare or covered with a black cap. If the markings are obscured by dirt, wipe them clean immediately because mistaking these posts will cause a massive electrical short circuit.
3. The Definitive Step-by-Step Jumper Cable Sequence
To keep this process entirely foolproof, automotive experts rely on a strict connection order. Memorize this sequence carefully, because changing the sequence can cause dangerous electrical sparks.
Step 1: Connect Red to Dead
First, take the red positive clamp of your jumper cables and securely attach it to the positive (+) terminal of the dead battery. Make sure the jaws of the clamp bite firmly into the metal post.
Step 2: Connect Red to Live
Next, uncoil your cables carefully. Walk over to the rescue vehicle and attach the matching red positive clamp to the positive (+) terminal of the healthy, functioning battery.
Step 3: Connect Black to Live
While standing at the rescue vehicle, take the black negative clamp. Securely attach it directly to the negative (-) terminal of the healthy rescue battery.
Step 4: Ground the Black Clamp on the Dead Car
This is the step that trips up most amateur mechanics. Do not connect the final black negative clamp to the dead battery’s negative post. Doing so can cause a spark directly over volatile battery gases. Instead, clamp it onto an unpainted, clean metal part of the dead car’s engine block, such as a bolt head or bracket.
4. Revving the Engines and Starting the Vehicle
Now that your connections are safely locked into place, you can proceed to transfer the electrical current. However, do not rush the process, as the dead battery needs a moment to absorb the voltage.
First, start the engine of the rescue car. Let it idle normally for roughly two to three minutes. If the dead battery was deeply discharged—for instance, if the headlights were left on overnight—you should gently press the accelerator of the rescue car to raise the RPMs to about 2,000. This action prompts the alternator to pump out more charging power.
Next, attempt to start the dead vehicle. Turn the key or press the start button. If the engine cranks smoothly and fires up, victory is yours!
However, if it merely clicks or cranks incredibly slowly, shut everything down immediately and check your connections. Often, a clamp has simply slipped slightly off the metal post, disrupting the circuit. Let it charge for another five minutes before trying again.
5. The Critical Disconnection Protocol
Once the dead car is successfully idling, you might think you are entirely out of the woods. However, the removal process is just as dangerous as the attachment phase. If the dangling metal clamps accidentally touch each other while still connected to a running vehicle, they will throw violent sparks and instantly damage your alternator.
Therefore, you must remove the jumper cables in the exact reverse order that you put them on. Start by unclamping the black ground connection from the newly revived car’s engine block.
Next, remove the black negative clamp from the rescue vehicle. Follow this by removing the red positive clamp from the rescue vehicle. Finally, unclamp the red positive connection from the revived car. Roll up your cables carefully and secure them in your trunk.
6. What to Do Immediately After Your Car Starts
Do not turn off your engine right away! Your battery is still dangerously low on power, and shutting the car down now means you will need another jump-start immediately.
Instead, you need to let your vehicle run continuously for at least 30 to 45 minutes. Taking your car for a brisk drive on the highway is highly recommended because a moving vehicle spins the alternator faster than a car sitting at idle. This prolonged operation forces the alternator to deeply recharge the battery cells, ensuring you have enough power to restart the vehicle later.
Furthermore, make sure to turn off all non-essential electronics during this initial drive. Shut off your air conditioning, turn off the heated seats, and unplug any phone chargers. Minimizing this internal electrical load allows the alternator to dedicate 100% of its energy output to reviving your depleted battery.
7. Troubleshooting: What if the Car Won’t Jump?
Sometimes, despite your absolute best efforts, the engine refuses to start. When a jump-start fails, it usually points to a deeper mechanical or electrical failure within the vehicle.
If you encounter any of these scenarios, continuing to force the jump-start will only drain the rescue car or burn out your starter motor. At this stage, your best option is to call a professional roadside assistance service or have the vehicle towed to a trusted mechanic for an accurate diagnostic test.
8. Modern Alternatives: The Portable Jump Starter
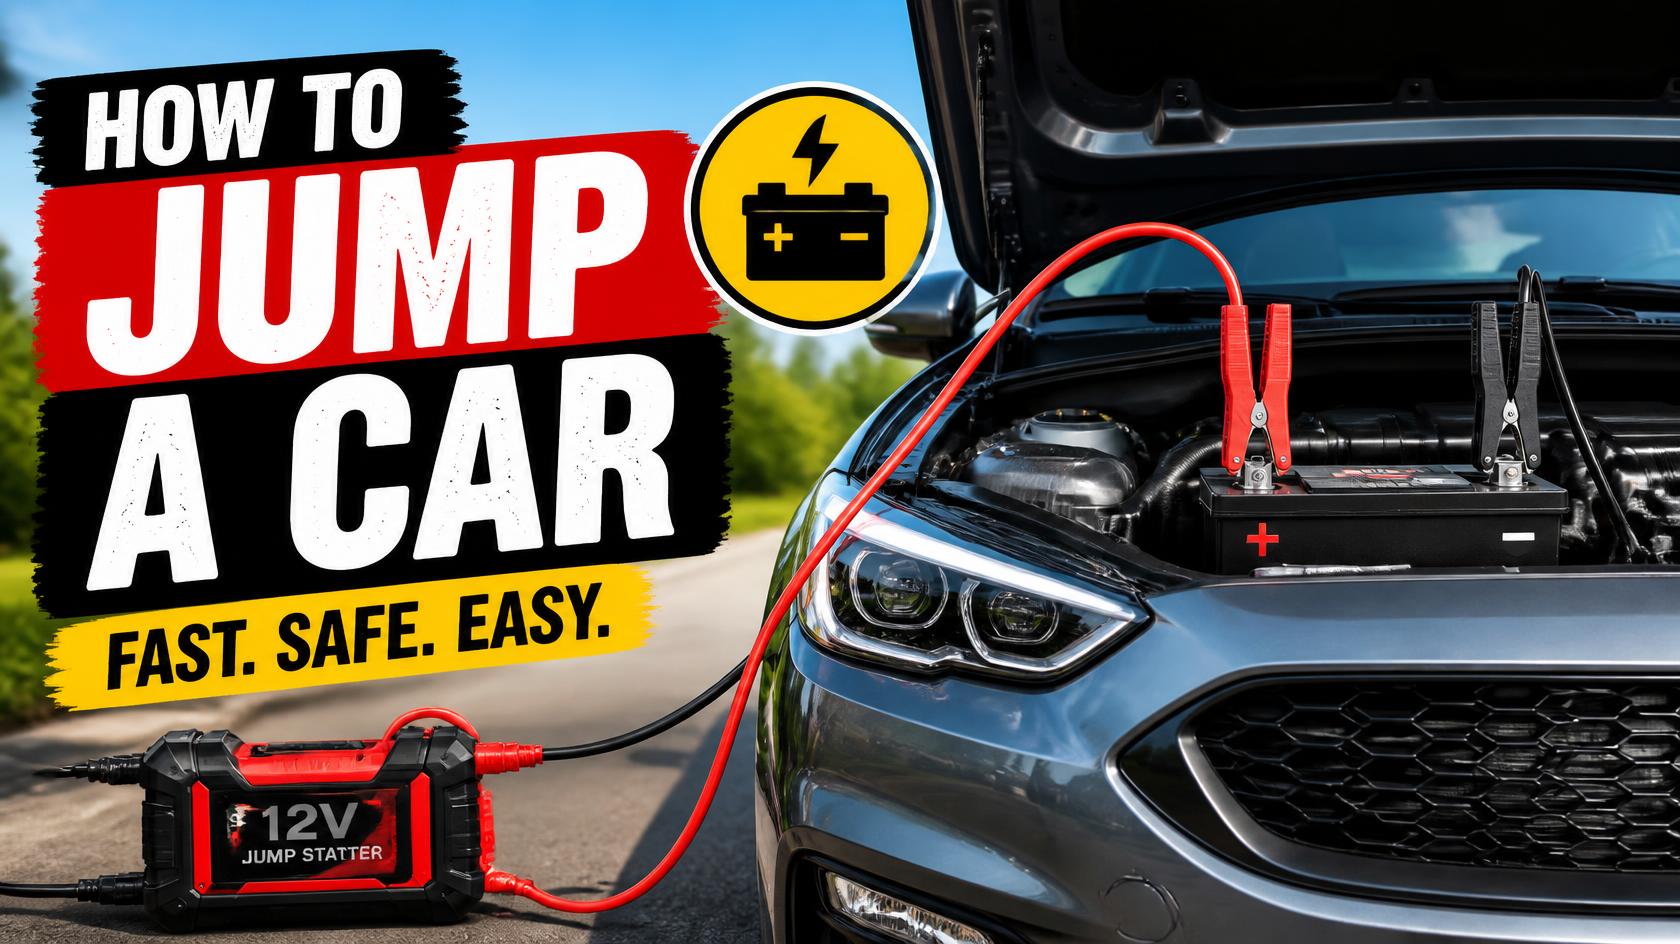
If you hate the idea of flag-waving down a stranger for help, you should consider purchasing a portable lithium-ion jump starter pack. These compact, glovebox-sized power banks have revolutionized emergency roadside assistance.
Because these portable packs contain their own internal smart microprocessors, they are exceptionally safe to use. Most models feature built-in reverse-polarity protection, which means the device will simply refuse to turn on if you accidentally connect the red clamp to the negative post.
To use one, you simply hook up the clamps directly to your battery terminals, power on the pack, and start your car from the comfort of the driver’s seat. It completely eliminates the need for a secondary rescue vehicle, making it an indispensable tool for solo road trips.